Scenic Finishing: How Raw 3D Prints Become Camera-Ready Props
How Trade Arts transforms raw 3D prints into camera-ready props through scenic finishing, weathering, and paint techniques. The final step in professional prop fabrication.
-2.webp)
-2.webp)

Scenic Finishing: How Raw 3D Prints Become Camera-Ready Props
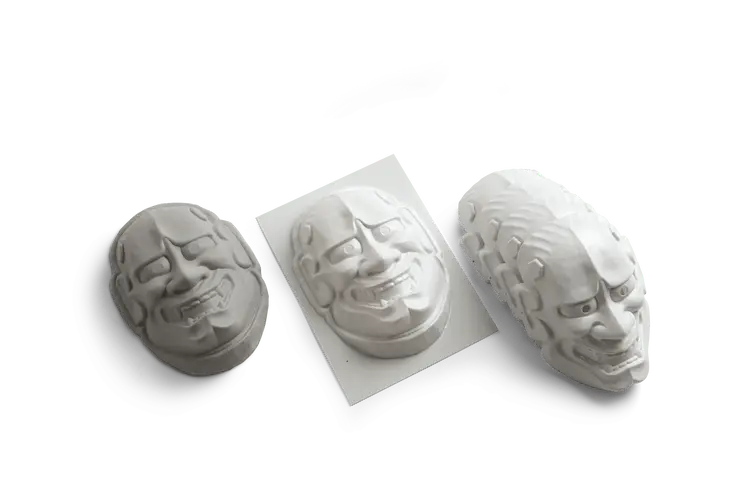
A 3D print straight off the machine is rarely ready for its close-up. Layer lines, support marks, and plastic sheen all need to go before a prop can pass as metal, wood, stone, or anything else the script calls for. At Trade Arts, scenic finishing is where the craft really lives — it's the step that transforms a fabricated object into something believable.
Why Finishing Matters More Than Printing
The best 3D print in the world still looks like plastic until it's been through a finishing pipeline. On a film set, under studio lighting, every surface imperfection is amplified. A glossy highlight in the wrong place, a visible seam line, or a colour that reads flat on camera — any of these can break the illusion. Scenic finishing is the difference between a prop that works and one that gets pulled from set.
The Finishing Pipeline
Our process follows a consistent sequence, though every project adapts it depending on the material, the deadline, and the end use. The typical stages include surface preparation (filling seams, sanding layer lines, removing support marks), primer application matched to the final surface appearance, base colour coats via airbrush or spray, detail painting and texture work, weathering and ageing effects, and protective clear coats for durability.
Surface Preparation
This is the unglamorous but critical first step. We fill print lines using automotive body filler or specialist primers, sand through multiple grits, and check surfaces under raking light to catch imperfections. For ASA shells that have been MEK-welded together, the seam lines need to disappear completely. This stage often takes longer than the painting itself.
Paint Techniques
Our scenic artists use a combination of airbrush work for smooth gradients and base coats, hand brushing for fine detail and texture, dry brushing to pick out raised edges and simulate wear, wash techniques using thinned paint to settle into recesses, and stippling and sponge work for organic textures like stone or rust.
Material Simulation
The real skill in scenic finishing is making one material look like another. Common transformations we do include PLA or ASA plastic finished to look like aged steel, resin parts painted to resemble weathered bronze or brass, foam or MDF coated to read as concrete or stone, and printed surfaces textured to look like worn leather or fabric. Each of these requires layered paint application, reference matching, and an understanding of how light interacts with real materials versus painted surfaces.
Weathering and Ageing
New-looking props almost never work on camera. Real objects show their history — dirt in the crevices, paint chips on the edges, oxidation on metal surfaces. We add these stories through controlled weathering: rust effects using reactive paints, dust and grime applied with washes, edge wear using dry brushing and sanding back through layers, and UV-aged or smoke-stained finishes for period pieces.
Durability for Set Use
Props get handled, dropped, reset, and transported. Our finishing needs to survive all of that. We use automotive-grade clear coats for high-traffic pieces, flexible paints for parts that might flex or bend, and sacrificial top coats that can be touched up on set without redoing the entire finish.
Conclusion
Scenic finishing is where fabrication meets art. It's the final step in our pipeline but arguably the most important for on-screen work. At Trade Arts, every prop goes through this process — because what the camera sees is all that matters, and what it sees needs to be convincing.