How to Prototype Physical Products Using 3D Printing
Learn how Trade Arts uses 3D printing to develop functional prototypes and camera-ready props, helping teams test, refine, and fabricate physical products quickly.


.webp)
How to Prototype Physical Products Using 3D Printing
Prototyping is the critical phase where ideas become tangible. It bridges the gap between a sketch and something that can be touched, tested, and refined. In a space like product development, especially in creative and commercial industries, 3D printing has become a foundational tool in this transformation. At Trade Arts, we work across film, industrial design, and branded experiences to rapidly produce functional and aesthetic prototypes that bring ideas into the real world.
Why Prototyping Matters
Before committing to expensive tooling or mass production, prototypes let designers and stakeholders validate ideas quickly. They allow teams to test ergonomics, mechanics, and visual appeal without needing a final product. For founders, a prototype can make the difference in pitching for funding or demonstrating proof-of-concept. For creatives, it helps visualise form and material in real scale. Prototypes lower the risk and accelerate innovation.
Benefits of 3D Printing for Prototyping
3D printing enables fast iteration. Unlike traditional methods that might involve subtractive processes or hand fabrication, additive manufacturing can go straight from a CAD file to a physical object. Adjustments can be made quickly, and small batches or one-offs are not only possible but efficient. The resolution and material range now available allows teams to create visual models, functional tests, or mechanical mockups all with the same core technology.
Types of Prototypes
There are different kinds of prototypes depending on the project stage:
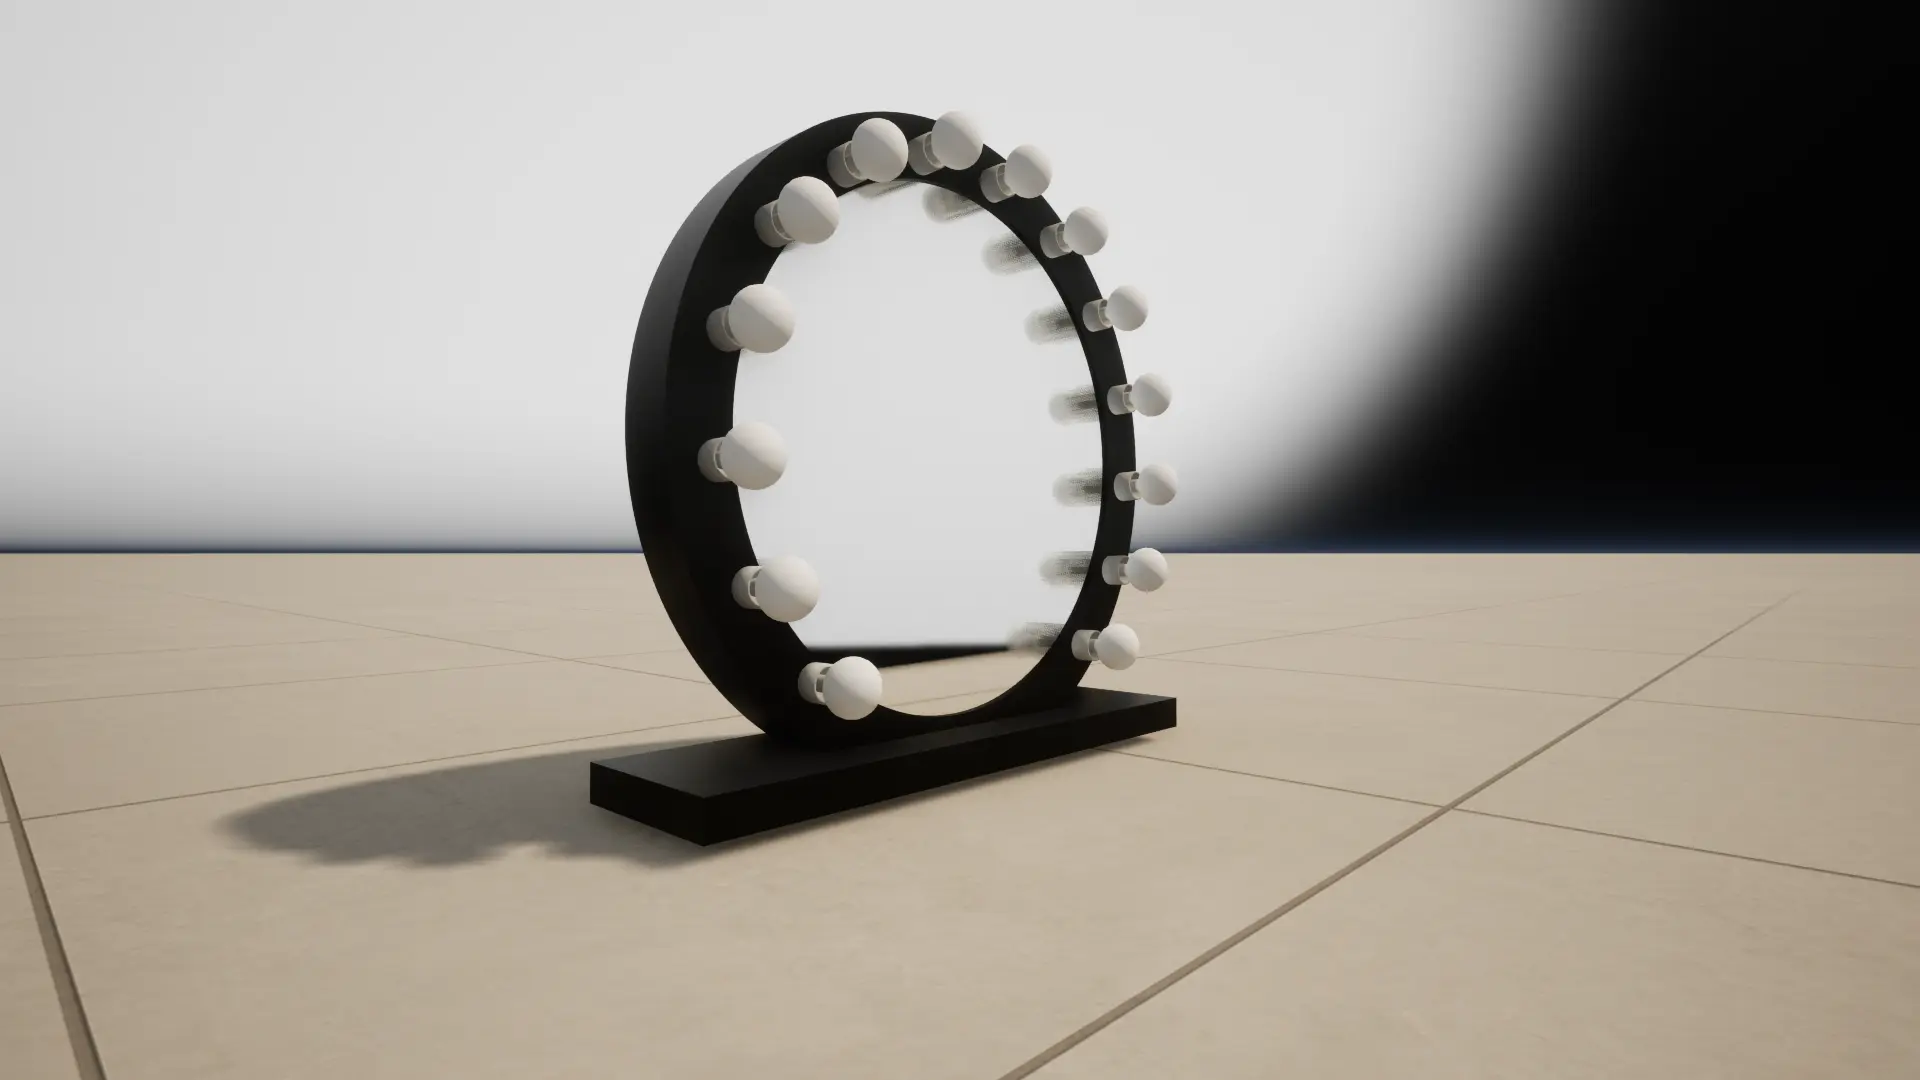
- Visual prototypes: These are designed to show form and surface. Often used in marketing, investor decks, or internal review.
- Functional prototypes: These are tested for use, with moving parts, weight tolerance, or electrical integration.
- Ergonomic prototypes: Built to test scale, grip, and interaction, especially important in consumer products.
- Mechanical prototypes: Involve gears, joints, or internal assemblies, often requiring tight tolerances.
3D printing can support all of these, often combining multiple purposes into one model.
Printing Methods We Use
At Trade Arts, we primarily use two categories of 3D printing:
- FDM (Fused Deposition Modelling): Ideal for larger, structural pieces or rough-form models. Cost-effective and robust.
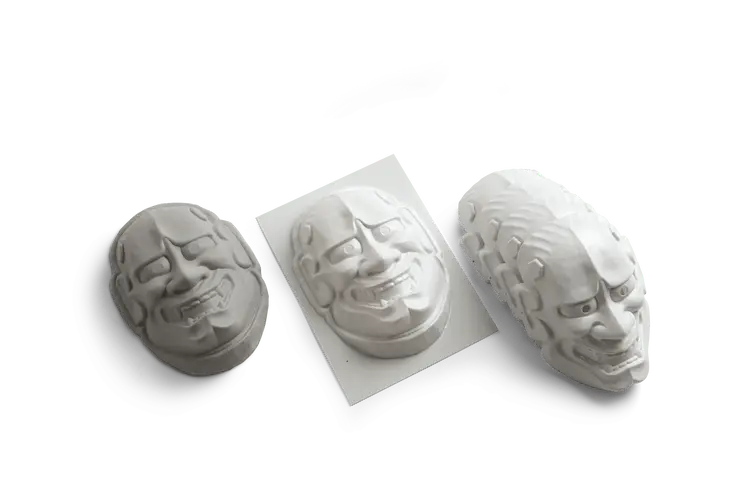
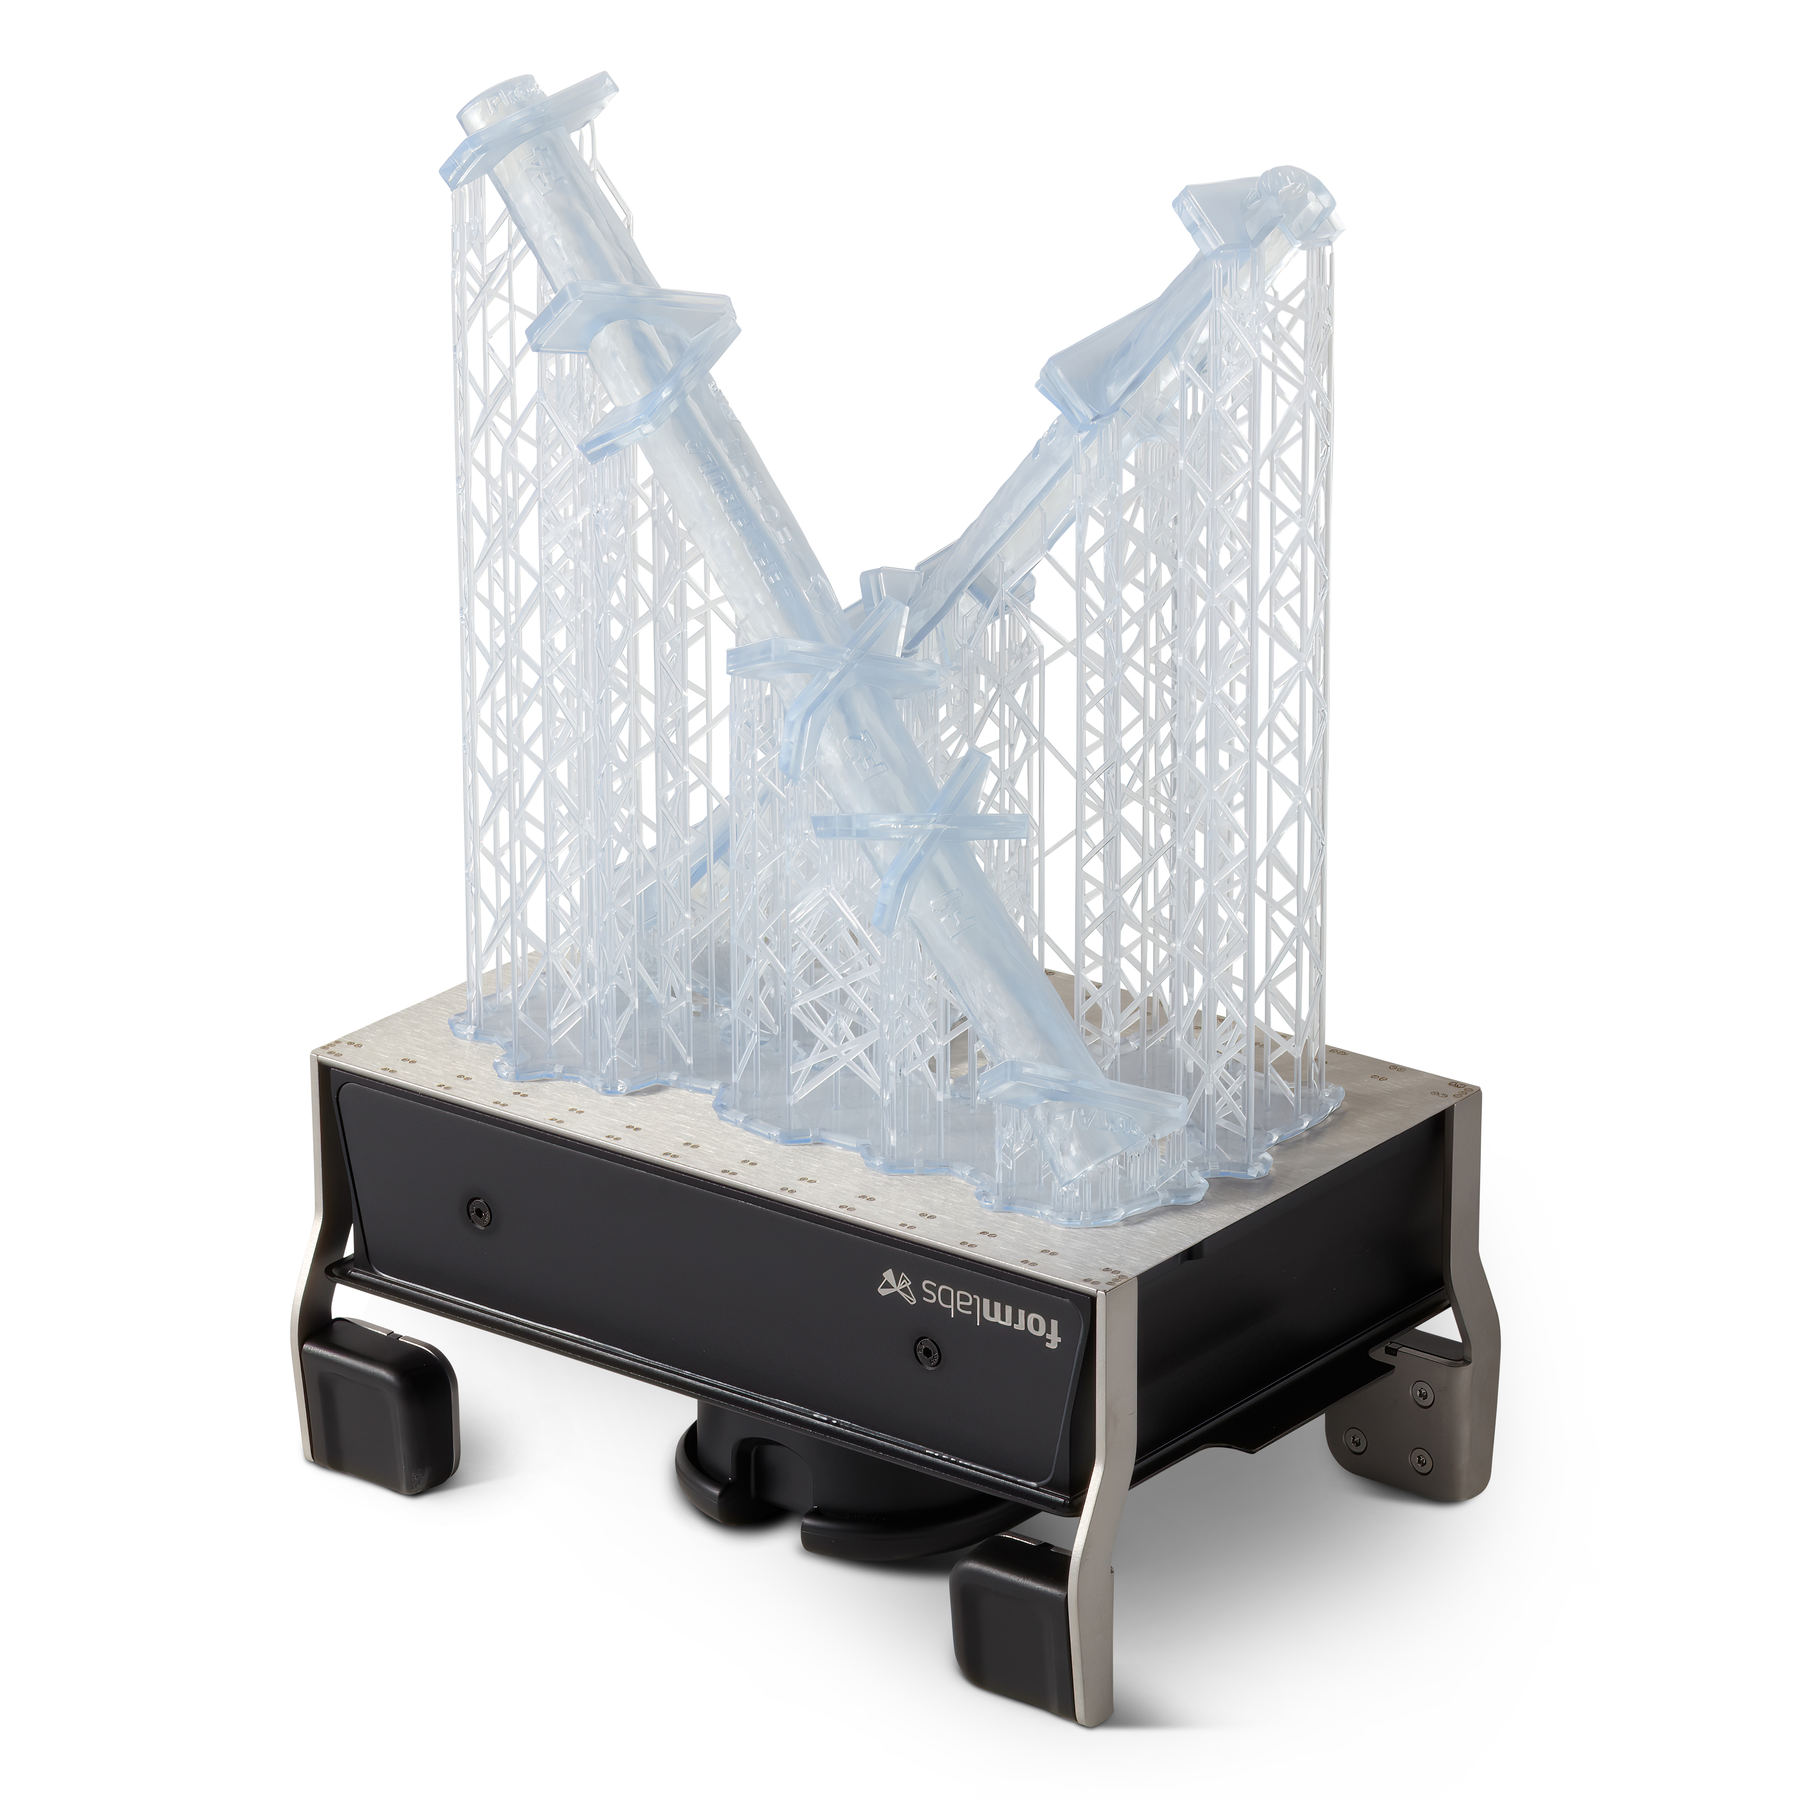
- Resin printing (SLA/MSLA): Perfect for detail-rich models, high surface smoothness, and small parts.
We often choose based on the prototype’s purpose. Sometimes, a mix of both is used to optimise material and time.
Our Workflow
We typically begin with a CAD file, either from the client or built in-house using Rhino or Fusion 360. We clean and prepare the geometry, check tolerances, and plan for print orientation. Once printed, we assess the part for form and fit. If needed, we move into finishing: sanding, priming, and scenic treatments. Our scenic team can match paint, textures, and patinas based on reference images or real-world materials. This step is what takes the prototype from basic output to a product-quality sample.
Real-World Case Studies
- Film Set Prototypes: A client needed a modular sci-fi handheld prop. We printed multiple versions to test grip and balance, then applied metallic paint and embedded hardware for realism.
- Startup Product Sample: A founder approached us with a sketched concept for a wearable. Within a week, we delivered a 3D printed sample for a pitch meeting with actual moving parts.
- Retail Fixture Concept: A marketing team wanted to visualise a complex product stand. We printed a scaled-down replica to simulate assembly and presentation flow.
Common Challenges & Solutions
Some prototypes require balancing detail and strength. Fine resin prints are delicate; structural parts may need inserts or post-processing. Warping, support marks, or layer lines are addressed through orientation planning and finishing techniques. Clients often want “finished” pieces from what is inherently a raw output. Our scenic and assembly team bridges that expectation gap.
Materials & Their Implications
We use a range of materials:
- PLA: Great for quick prints with minimal warping
- PETG: More durable and temperature-resistant
- Flexible resins: For wearable or tactile parts
- Engineering resins: For functional strength and accuracy
Material choice is part of our early scoping discussion, often based on final use and visual expectations.
Finishing for Presentation
Prototypes don’t always look like prototypes. With sanding, priming, filling, and scenic finishing, we can transform a print into something that looks injection-moulded or cast. That’s essential when the prototype is going into a client pitch, a film shoot, or a high-stakes test environment. Our scenic process includes multiple paint layers, dry brushing, weathering, and application of decals or simulated wear.
Conclusion
3D printing has revolutionised how we approach prototyping. At Trade Arts, we use it not just for quick parts, but as an integrated part of our design-to-fabrication pipeline. It’s flexible, iterative, and when paired with skilled hands, can simulate final products with impressive realism. Whether it’s a sci-fi prop, a startup’s first wearable, or a presentation model for a global brand, prototyping with 3D printing shortens the path between imagination and outcome.