From CAD to Camera: How Files Become Film Props
Explore the journey from technical drawings to real-world props. A behind-the-scenes look at how CAD powers fabrication in the film and TV industry.
.webp)

From CAD to Camera: How Files Become Film Props
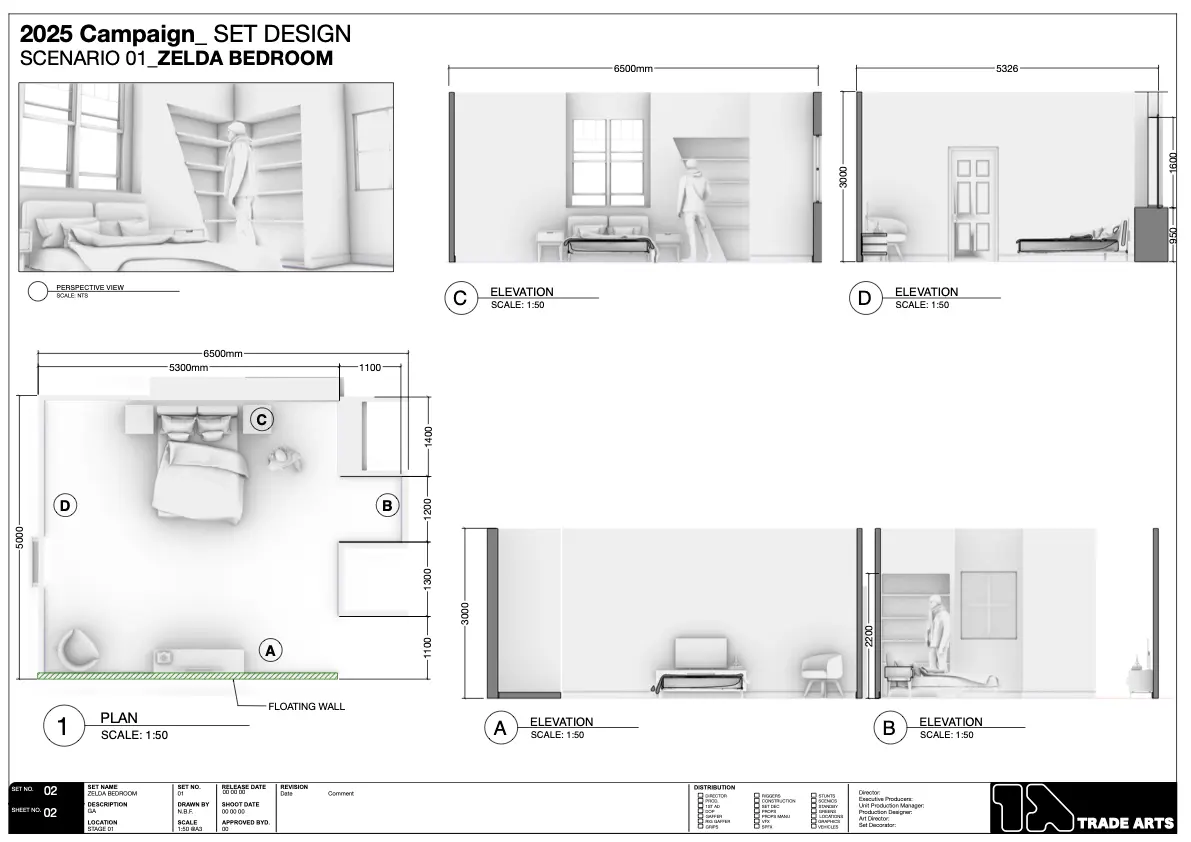
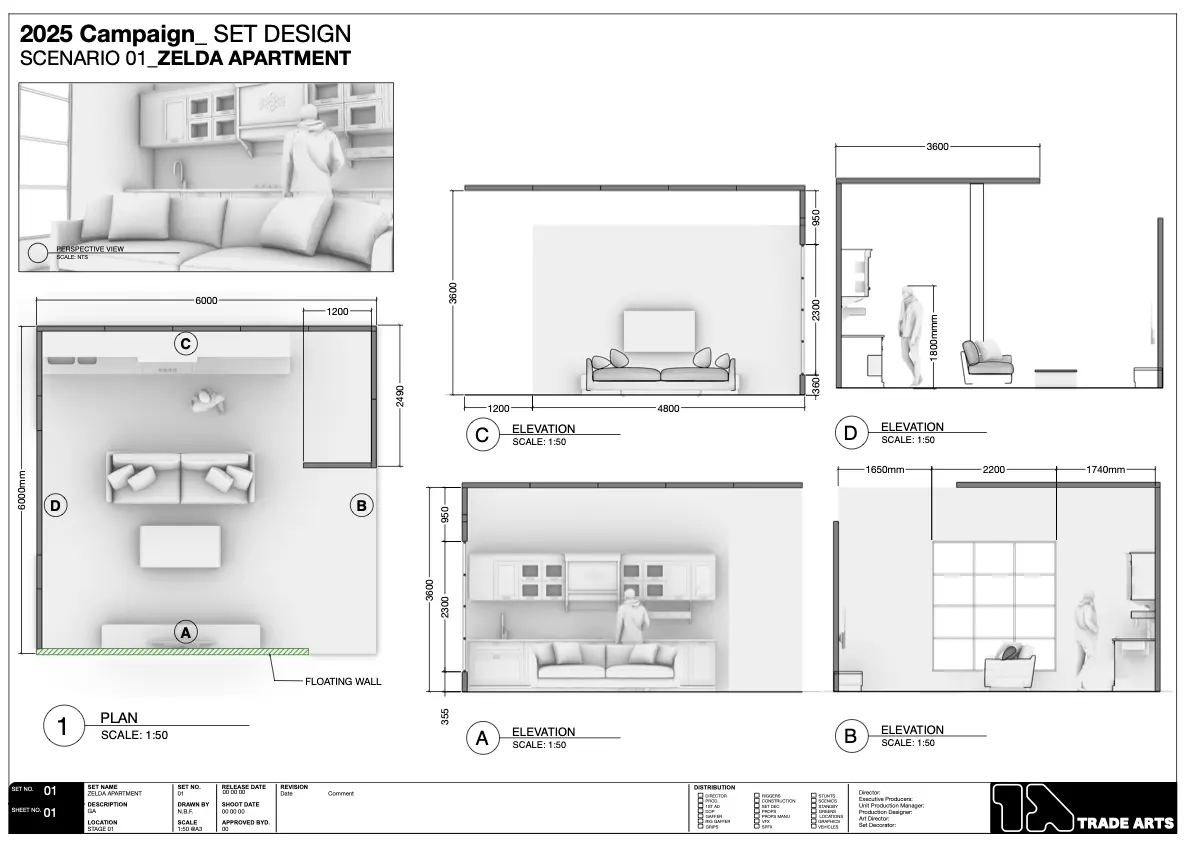
In the world of film and television, the leap from screen to set is paved with precision. Every object that appears on camera must not only look the part but also behave reliably under lighting, handling, and time constraints. At Trade Arts, we specialise in turning digital CAD models into tangible, set-ready props. This process involves far more than just sending a file to a printer. It's a layered workflow that combines digital tools with physical craft, bridging the disciplines of design, engineering, and scenic finishing.
What It Means to Build for Camera
Unlike mass-produced objects, film props often need to satisfy a highly specific brief. They may exist only for one scene but require the same believability and finish as a real-world product. Props need to feel weighty, look functional, and hold up to close-up shots. That means the design process is tightly integrated with how the object will be filmed, lit, and used. Even if it's just on screen for a few seconds, it has to be convincing.
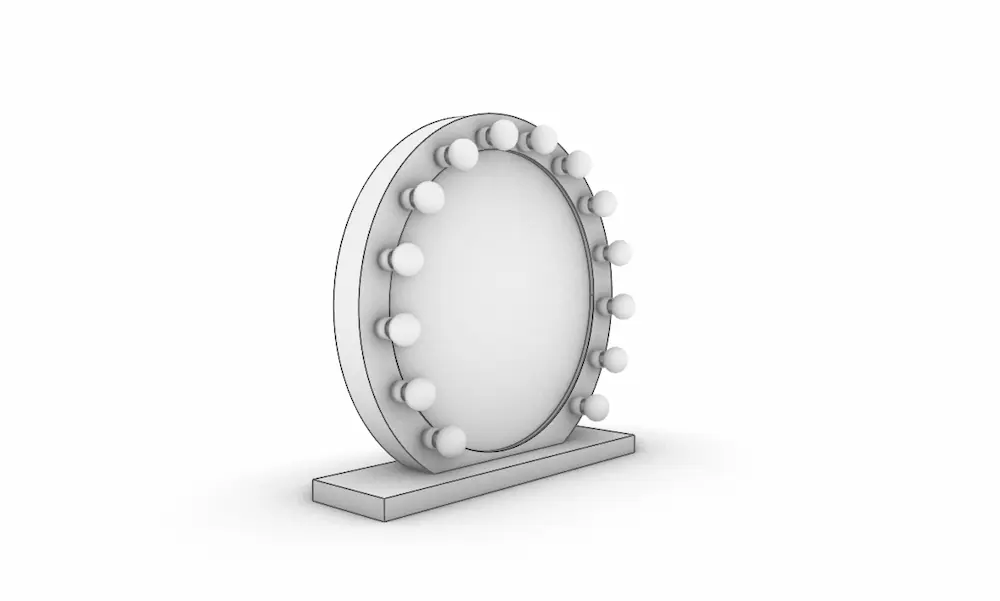
CAD as the Foundation
We start with CAD because it allows for precision, communication, and revision. Tools like Rhino and Fusion 360 let us model every angle, edge, and interaction. Whether we’re building a futuristic medical device or a complex mechanical switch, CAD files allow teams to assess proportions, tolerances, and build strategies. Files can be shared, annotated, adjusted, and exported for multiple downstream workflows.
Tools and Workflows
At Trade Arts, our digital workflow centres on:
- Rhino for flexible surfacing and complex shapes
- Fusion 360 for mechanical assemblies and parametric design
- Meshmixer for final prep and print slicing
We clean up files, boolean overlapping geometry, add mechanical details, and plan for access panels, magnets, or lighting as needed. Once approved, the CAD is the source of truth for all physical outputs.
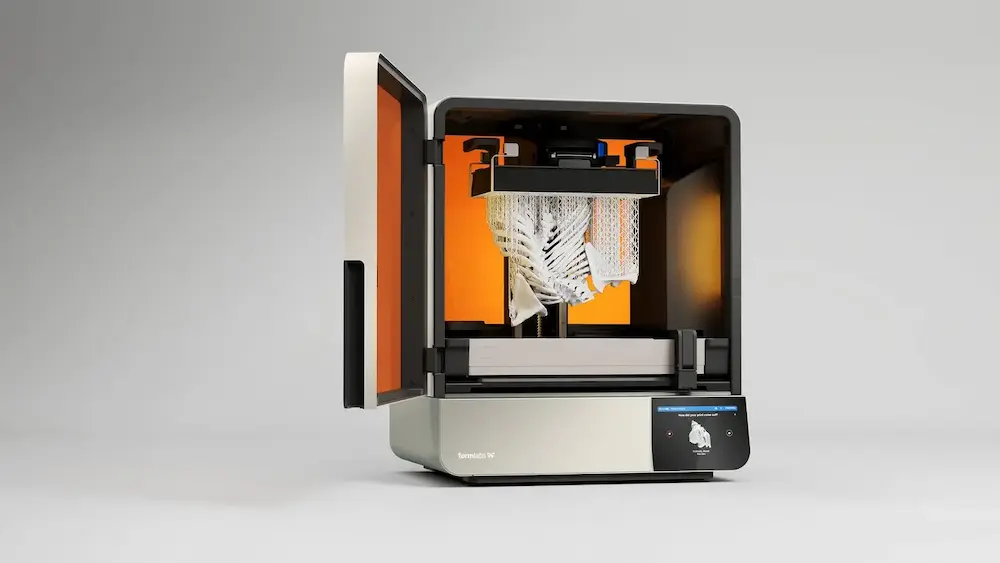
Preparing for Output: CNC and 3D Print
Different parts of the same prop may use different fabrication methods. We route flat panels using CNC machines for precision and repeatability. We print sculptural or organic shapes using SLA or FDM 3D printing. Each technique requires slightly different tolerances, orientations, and material considerations. We prepare files specifically for these outcomes, sometimes splitting a single model into multiple parts depending on size or complexity.
Accuracy and Tolerances
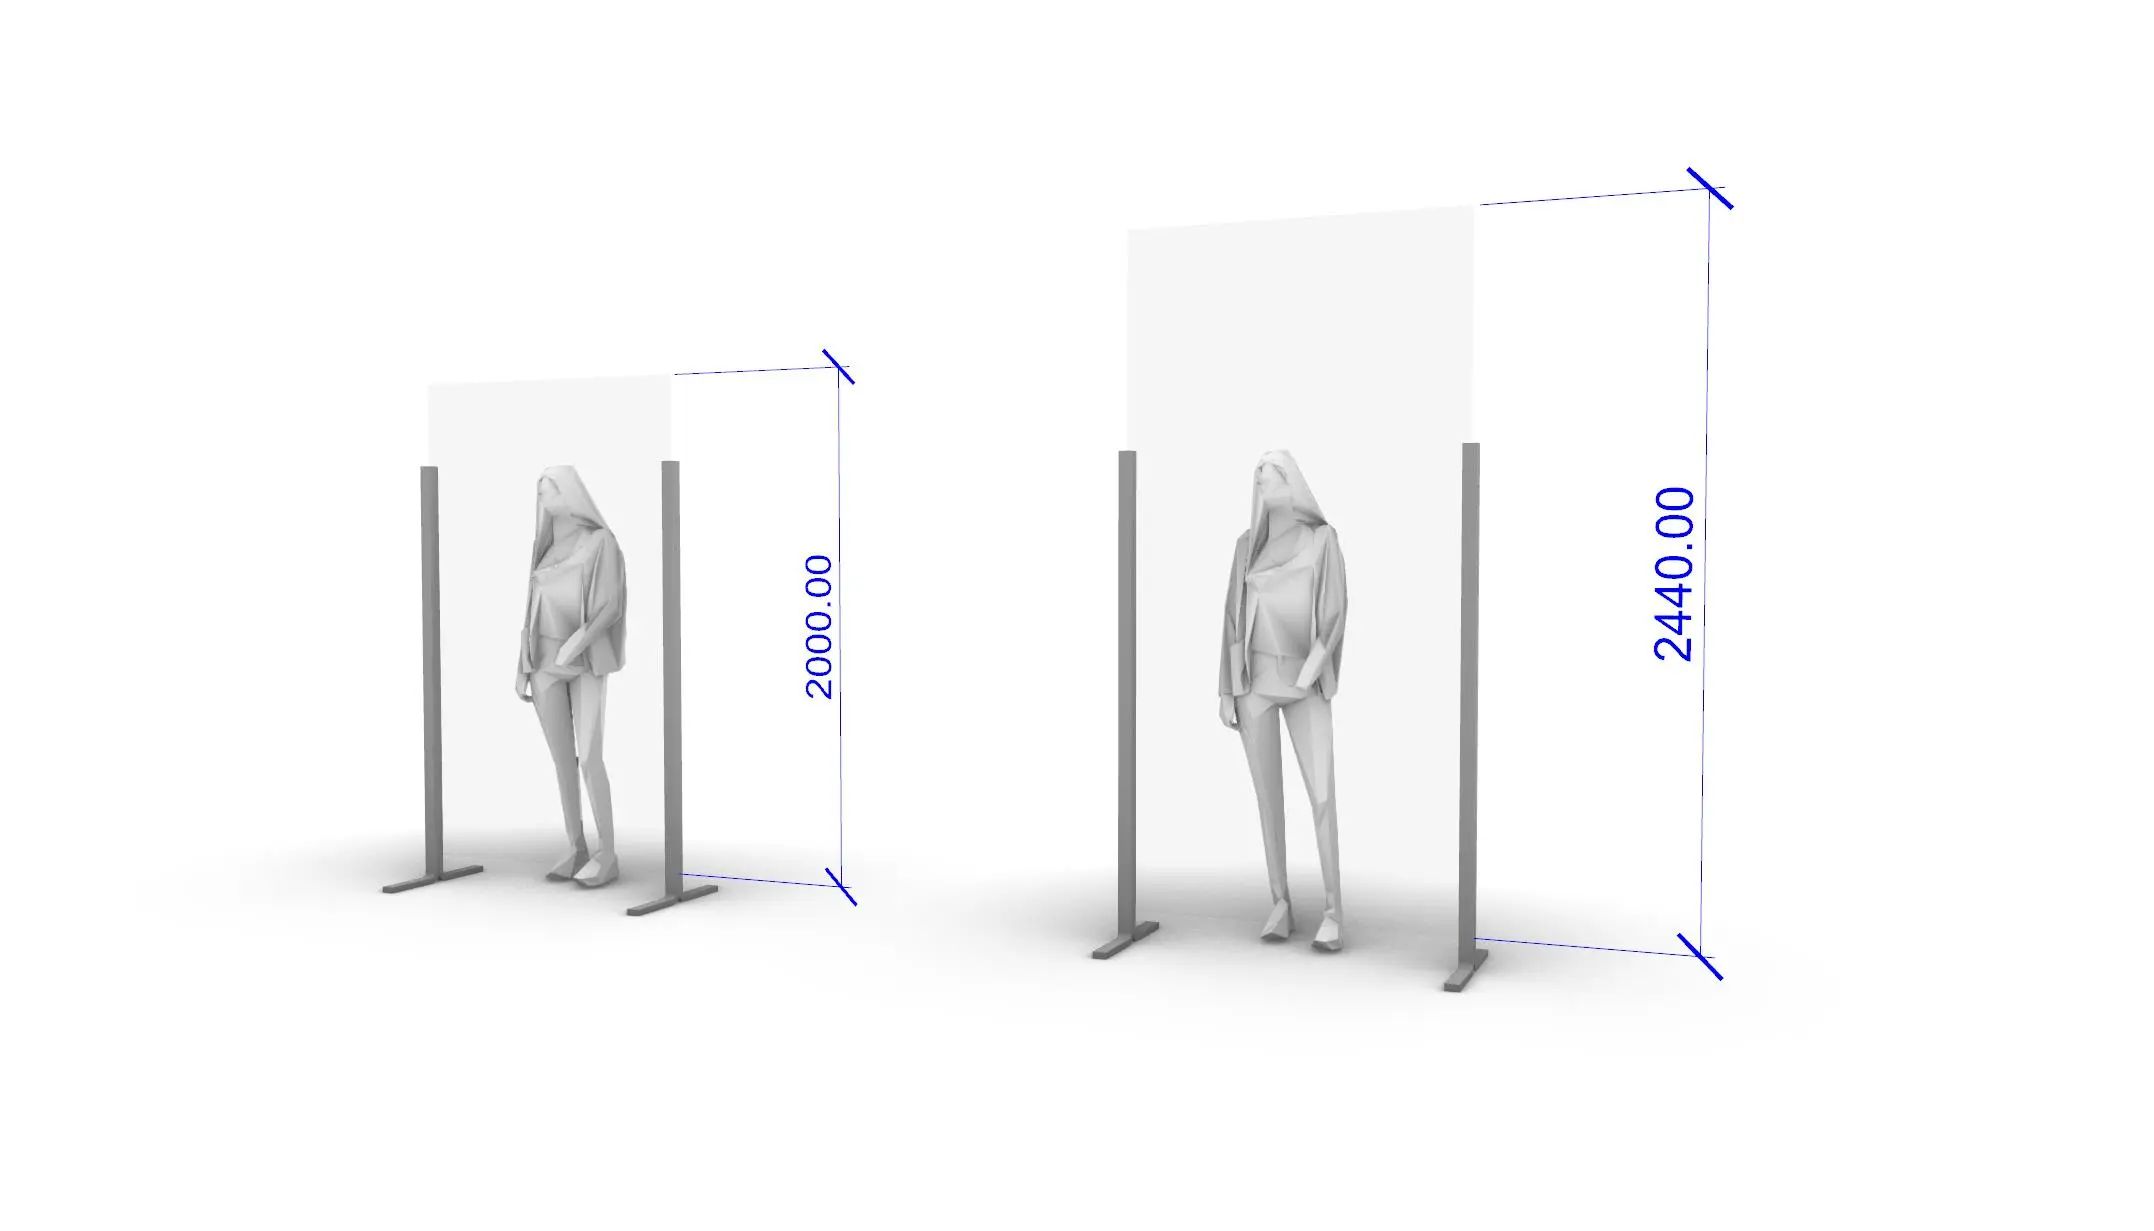
Because props may need to hold together under pressure—or be pulled apart mid-scene—we pay close attention to how pieces connect. Screws, press fits, magnets, or Velcro are all used depending on the need. Tolerances are often set tighter than in product design because props must appear seamless up close.
Integration with Physical Elements
Many film props aren't just inert objects. They often include:
- Embedded LEDs for lighting
- Hidden fasteners to allow for reassembly
- Functional toggles that actors can interact with
- Hardware mounts to secure props to costumes or rigs
We plan all of this at the CAD level. This ensures that wiring channels, access doors, and mounting points are incorporated early—not added as afterthoughts.
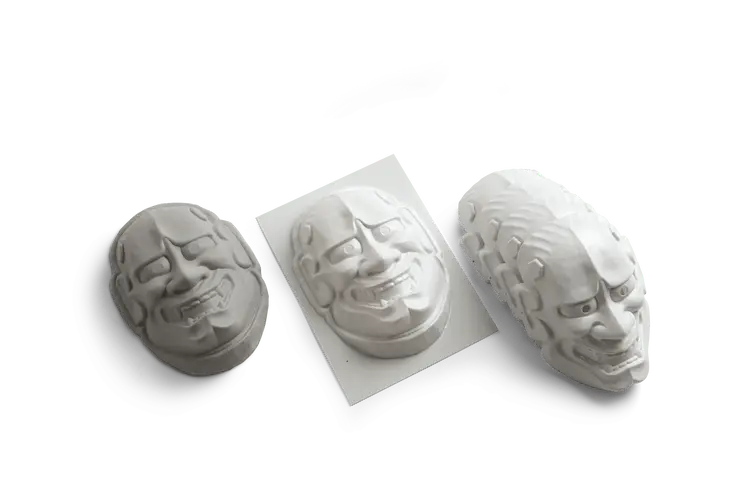
Finishing for Camera
After parts are printed, machined, or hand-built, they go through a scenic finishing pipeline:
- Sanding and priming to remove build lines
- Base coats applied with airbrush or rattle can
- Dry brushing and texture for weathering or realism
- Decals or stencilled markings to reinforce narrative cues
We simulate wear, grime, and patina to make each piece feel grounded. A shiny, pristine print rarely feels believable on camera. The details—the scratches, fingerprints, edge rub—give life.
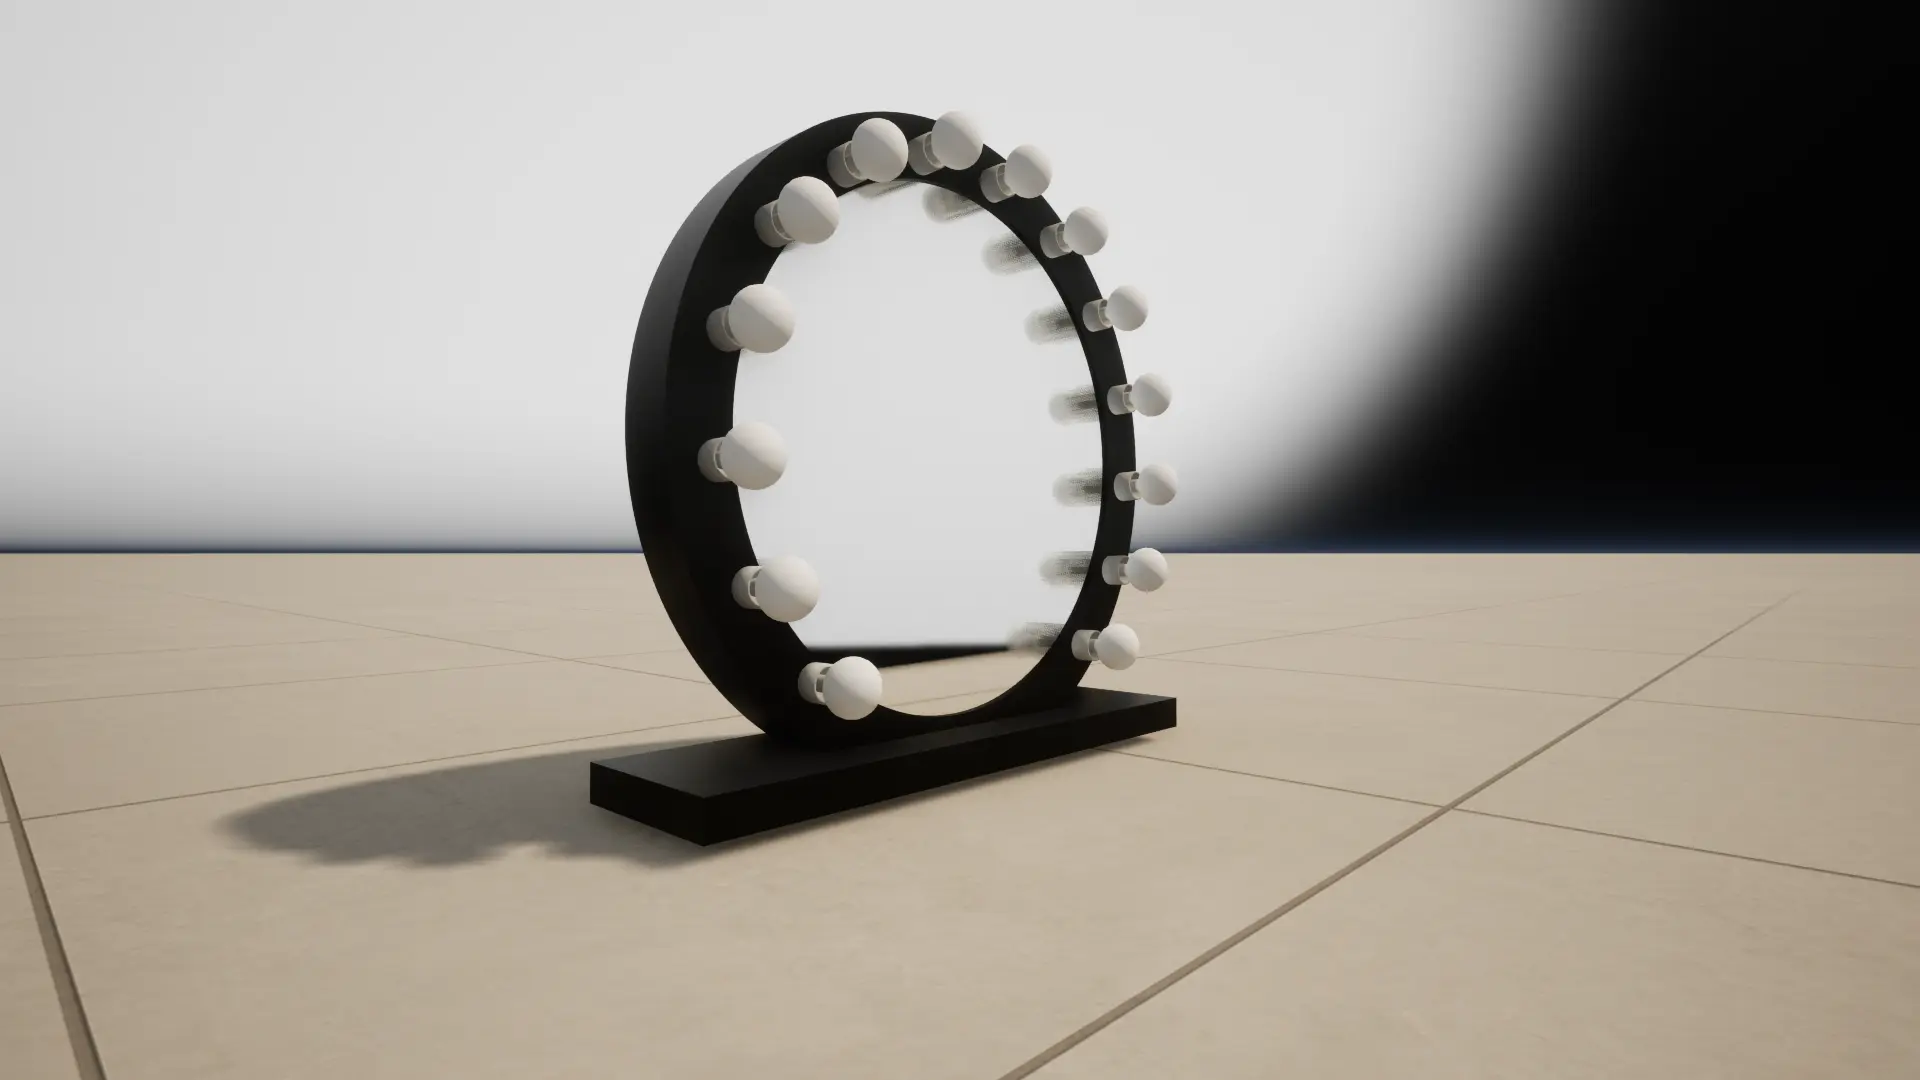
Film & TV Case Studies
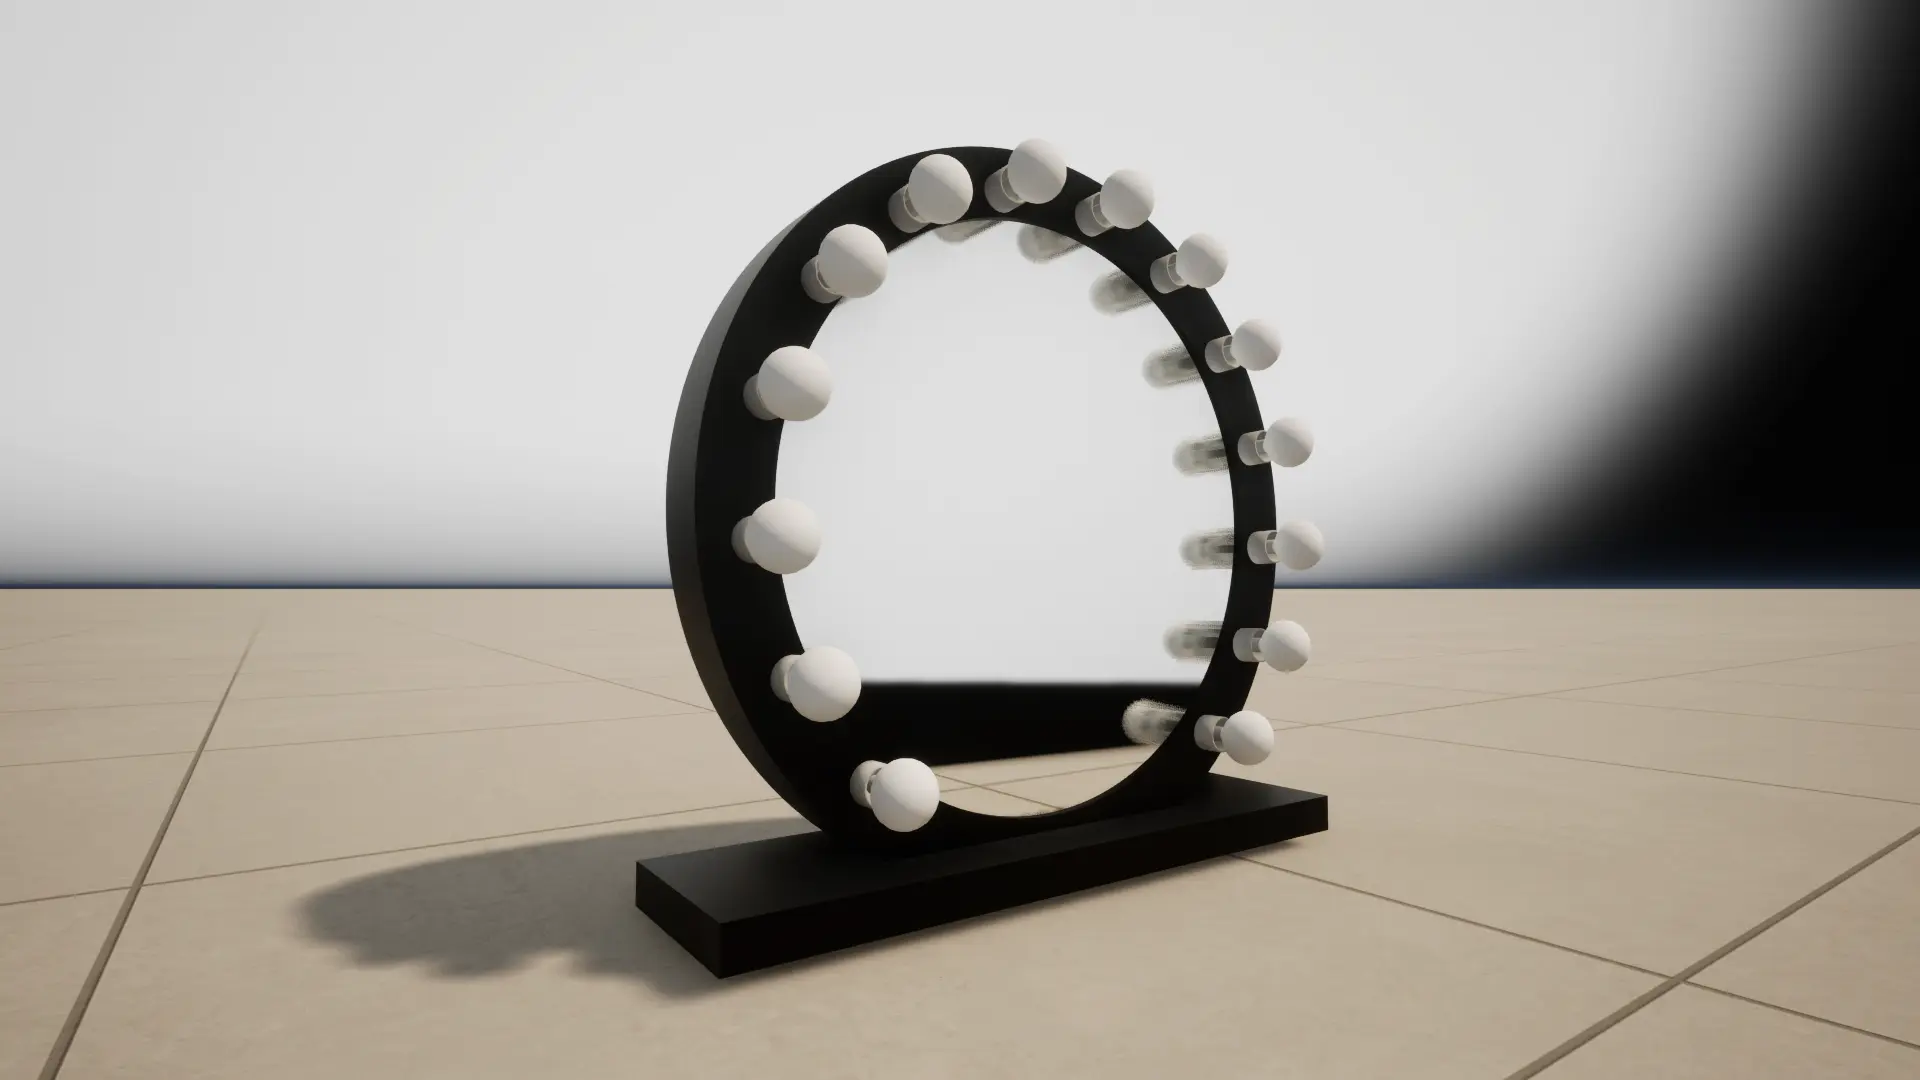
- Sci-Fi Communicator: Built from Fusion CAD, printed in resin, painted in three stages with a magnetic lid and LED backlight.
- Faux Industrial Panel: Routed from CNC MDF, layered with pipes and metal details, painted to appear welded and worn.
- Medical Prop: Modelled from references, included grip detailing and rubber insets for hand comfort. Used in 8 scenes, held by multiple actors.
Revision Loops
It’s common to iterate quickly under pressure. Directors may request scale changes, new lighting setups, or alternate versions of a prop. Because we build from structured CAD, we can respond fast—modifying one detail and regenerating outputs without rebuilding from scratch.
Conclusion: Precision from Screen to Scene
CAD is more than just a way to model shapes. It’s a language for physical storytelling. At Trade Arts, we use it to align imagination with reality—ensuring that what the director sees in their head can actually appear in front of the lens. Whether it’s a spaceship console, a piece of wearable tech, or a weird bit of art deco signage, the journey from CAD to camera is one of craft, care, and technical fluency.